Let's look at what information you need and how to add a TXT record. These are the steps you need to take to verify site ownership with Google Search Console.
There are 1000's of companies that manage DNS Records ie Name Servers for website owners. Luckily, the DNS Record system is standardized.
GSC Site Verification Steps
Collect what you need to create a new TXT Record
Open Google Search Console
Login where you domain is currently hosted (ie where the nameserver matches)
Go to the DNS Zone or Record Manager Section
Add a new TXT Record
Go back to GSC to Confirm
Collect Required Fields for a TXT Record
To verify your site with GSC you will create a TXT Record. Regardless where your DNS is managed, a TXT record has the same fields.
Info you need to create a TXT record:
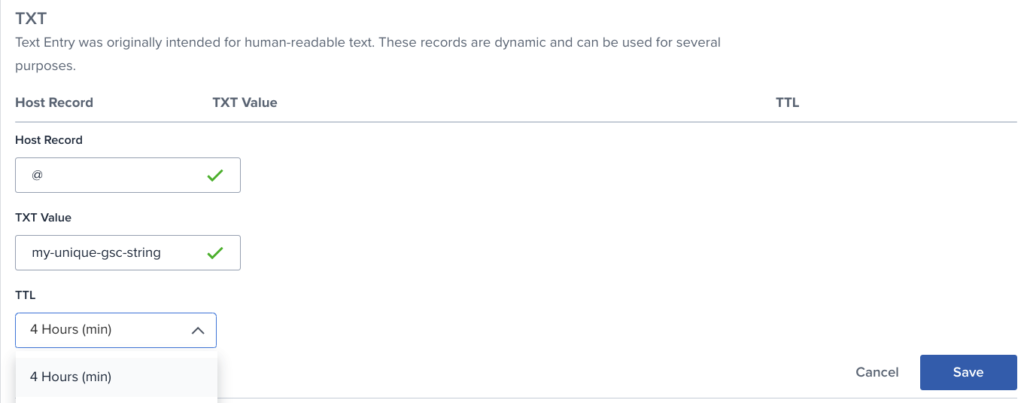
The Name or Record field is where you reference your domain. The @ symbol is commonly used to reference your root domain. Note: some DNS forms exclude this field, if it's not there you likely don't have to worry about it.
The Value or Content field is where you'll copy & paste the unique string from GSC (see the next step)
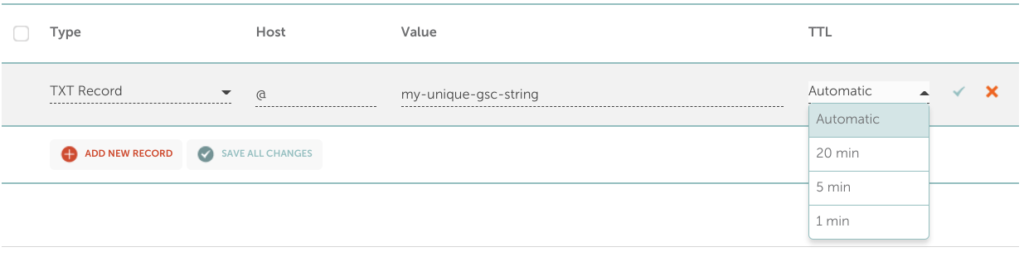
TTL stands for "time to live" and it's just how long the DNS record will take to be live on the server.
Most DNS forms will provide a drop down of options, pick the shortest or fastest time. Sometimes the numbers are in seconds (3600,7200,14400, etc).
14440=4hrs, 7200=2hrs, 3600=1hr
Field
What You Enter
Record Type
TXT
Name/Record
@
Value/Content
unique-text-string-from-google-search-console
TTL
pick the fastest/shortest time
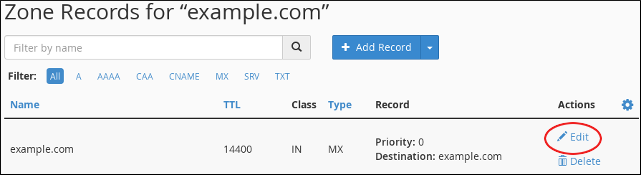
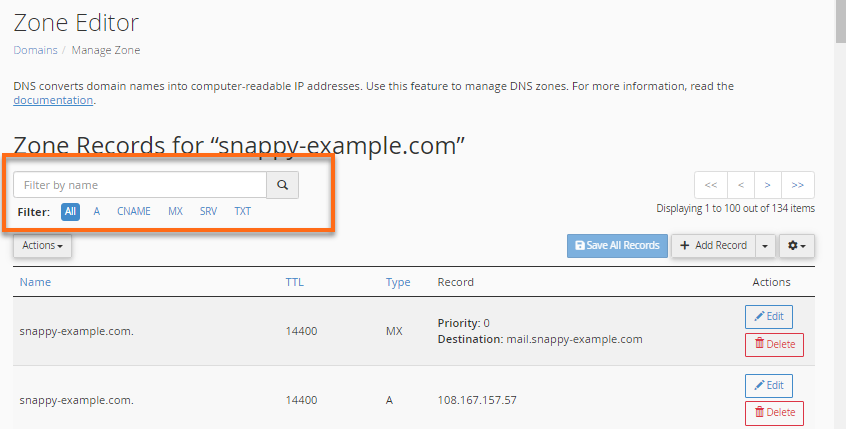
All DNS Zones will look similar
Companies name the DNS section differently. Here are few examples:
DNS Manager
DNS Editor
DNS Zone
DNS Records
Advanced DNS Settings
DNS & Nameservers
DNS > Zones > Records
Zone Editor
And here are few screenshots - you'll notice they are all similar.
NamecheapA2HostingHostgatorHostingerBluehost
Login to Google Search Console
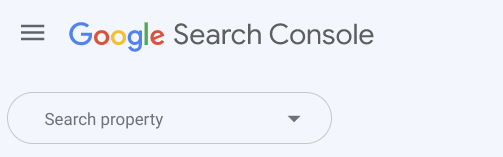
Click on Search Property or the domain dropdown menu (it will look different depending on you account setup)
It looks like this if you don't have any domains setup yet:
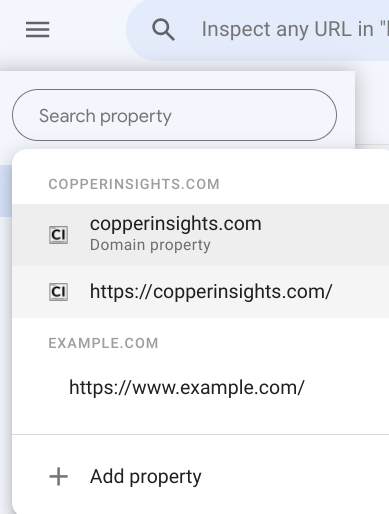
Or this if you have another property setup & verified:
Click 'Add property'
Look towards the bottom of the drop down menu
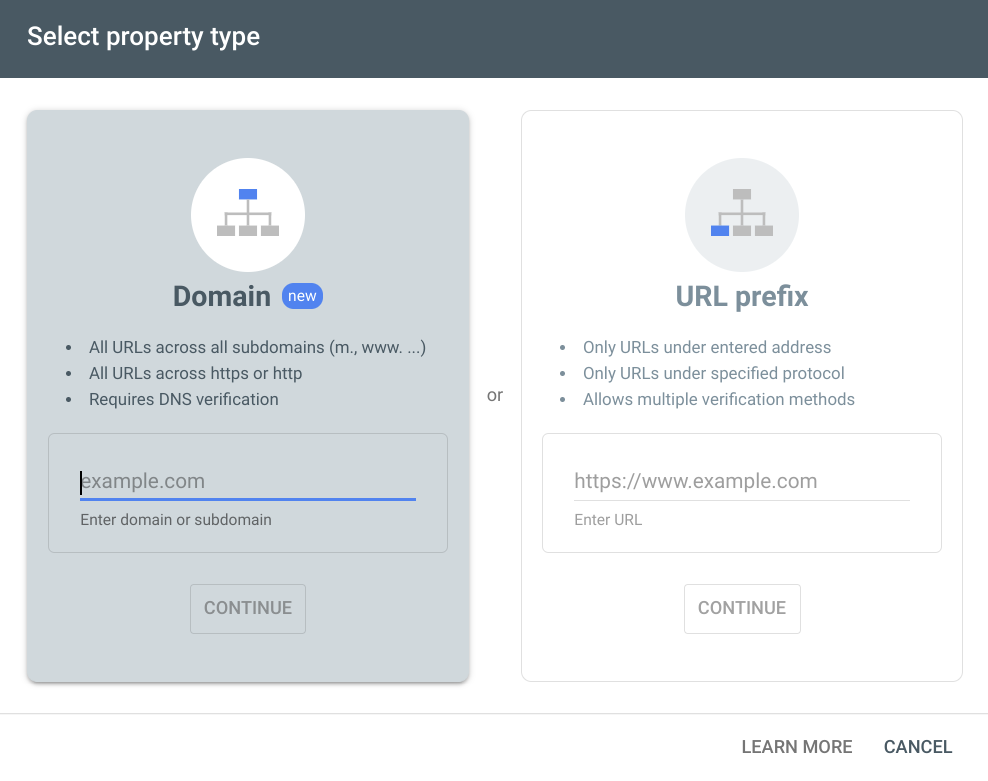
A new window will pop open:
Enter your domain and click 'Continue'
Google will prompt you on your verification method options
Copy the verification string
You will save this to copy & paste into the DNS Settings next.
Login to the web host or domain registrar for your domain