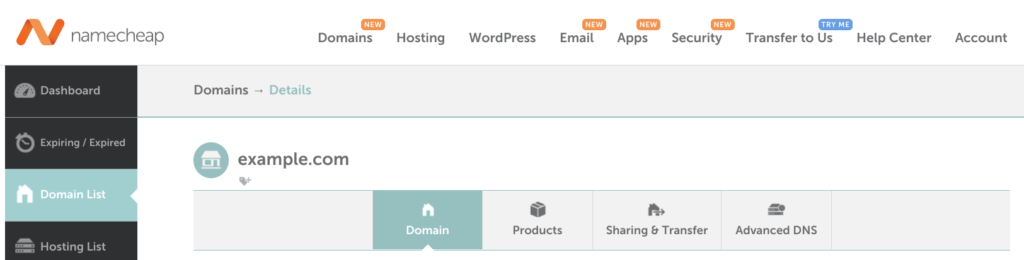
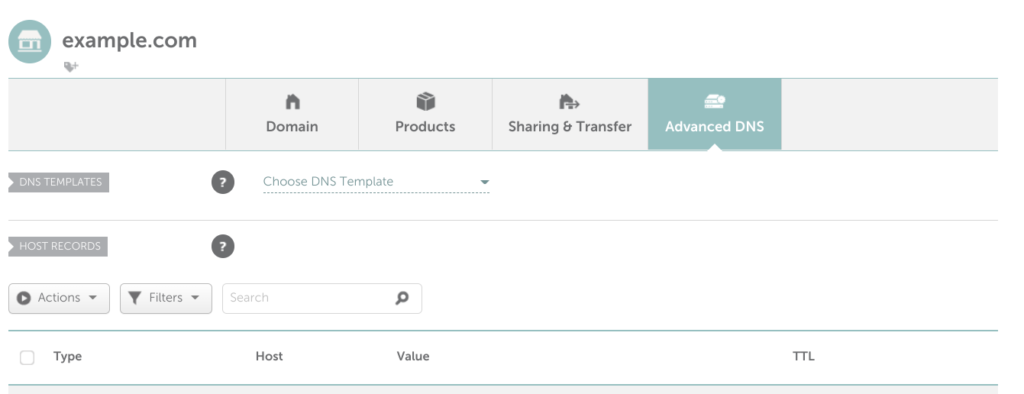
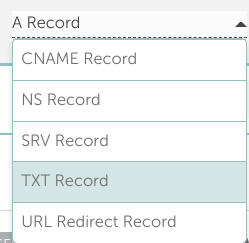
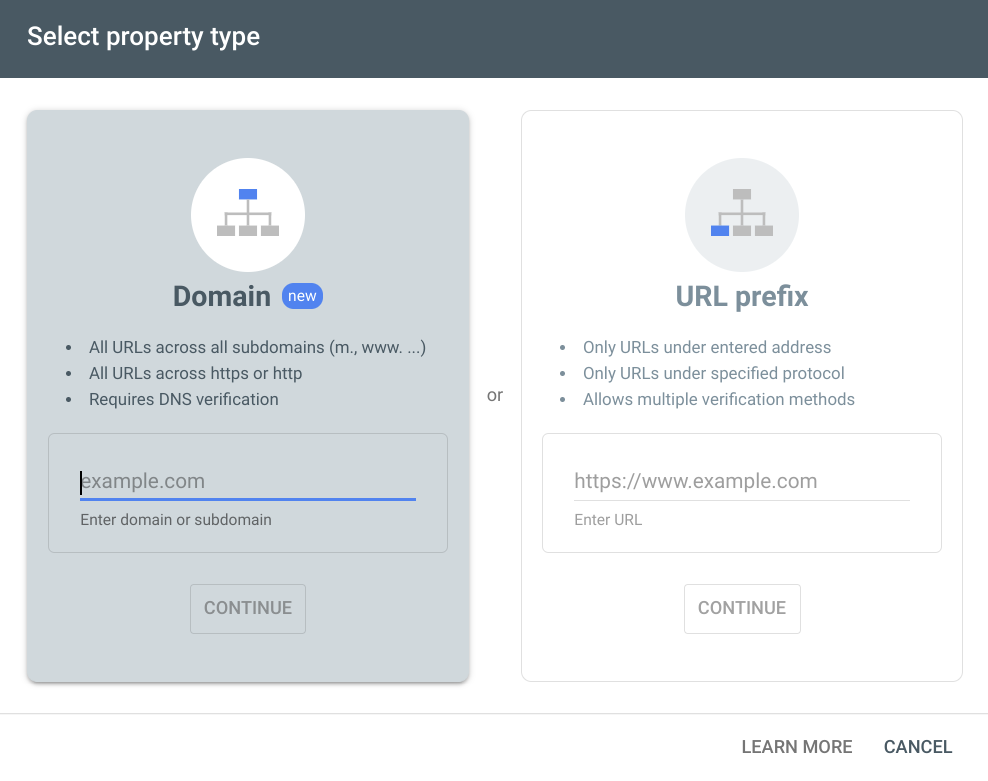
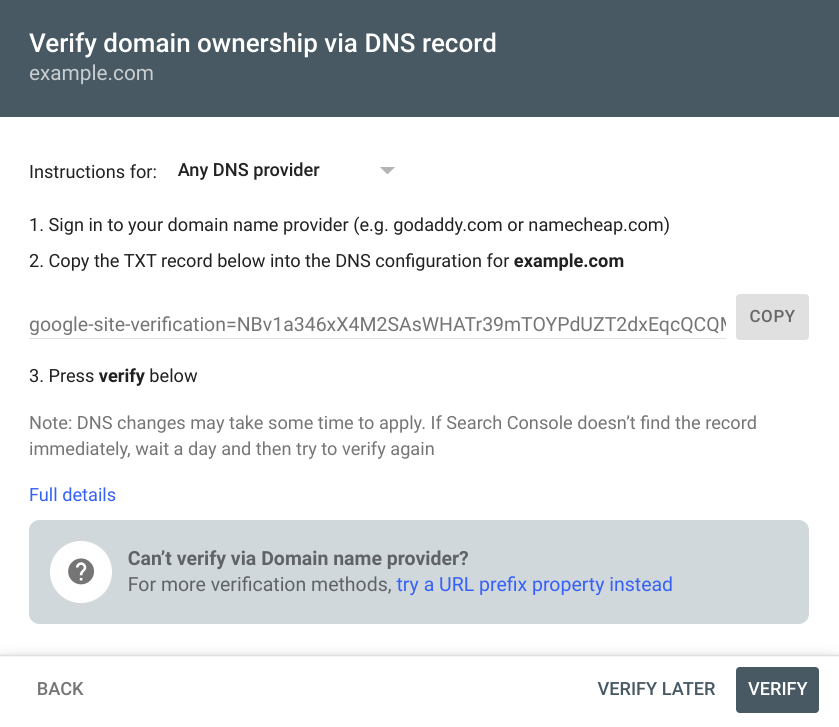
Follow these step-by-step instructions to verify your Namecheap domain. Verifying your site with Google Search Console can take 10+ minutes or, depending on how comfortable you are with the Namecheap Advanced DNS.
- Open three tabs in your browser
- The instructions on this page
- Google Search Console
- Namecheap.com
- Login to Google Search Console
- Click on Search Property or the domain dropdown menu (it will look different depending on you account setup)
You have no domains verified:

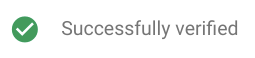
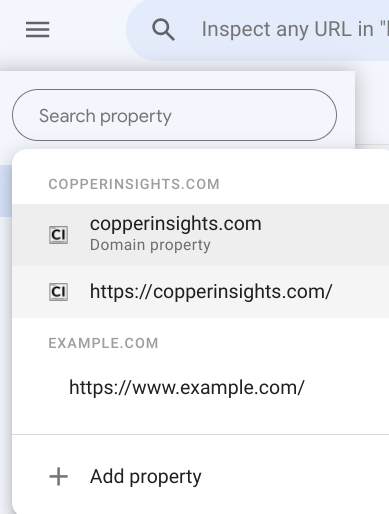
You have a domain verified:

- Click Add Property in the dropdown menu ( at the bottom)

- A new “property type” window will pop open:

- Enter your domain and click Continue
- Google will prompt you on your verification method options
- Try to Domain verify before trying URL prefix
- Next Copy the verification string GSC provides

- Login to Namecheap

- Click on Domain List form the Account drop down (right side of screen)

- Click on Manage for the domain you want to verify.

Note: If your domain is not here, that domain is likely managed somewhere else. Find out where your domain is registered, who manages the nameservers and DNS records.
- Next, click on Advanced DNS

- Look for the to the Host Records section
- Click the Add New Record button
- Select TXT Record from the drop down


- You might see two empty fields and one field pre-filled with ‘Automatic’
- Host , Value, and a dropdown for TTL

- Enter the following into each field
- Host : @
- Value: google-site-verification=your-unique-string (copy paste from GSC)
- TTL: leave as Automatic or pick 5 min
- Click Save All Changes

- Wait a few minutes…read this or watch this from the Search Advocate Team @ Google
- Go to your GSC tab – click the Verify button

- Success! Your site is now verified with GSC. Remember, GSC will need a couple days to load the data for your domain.
